Table Of Contents
Draining Water from the Heater
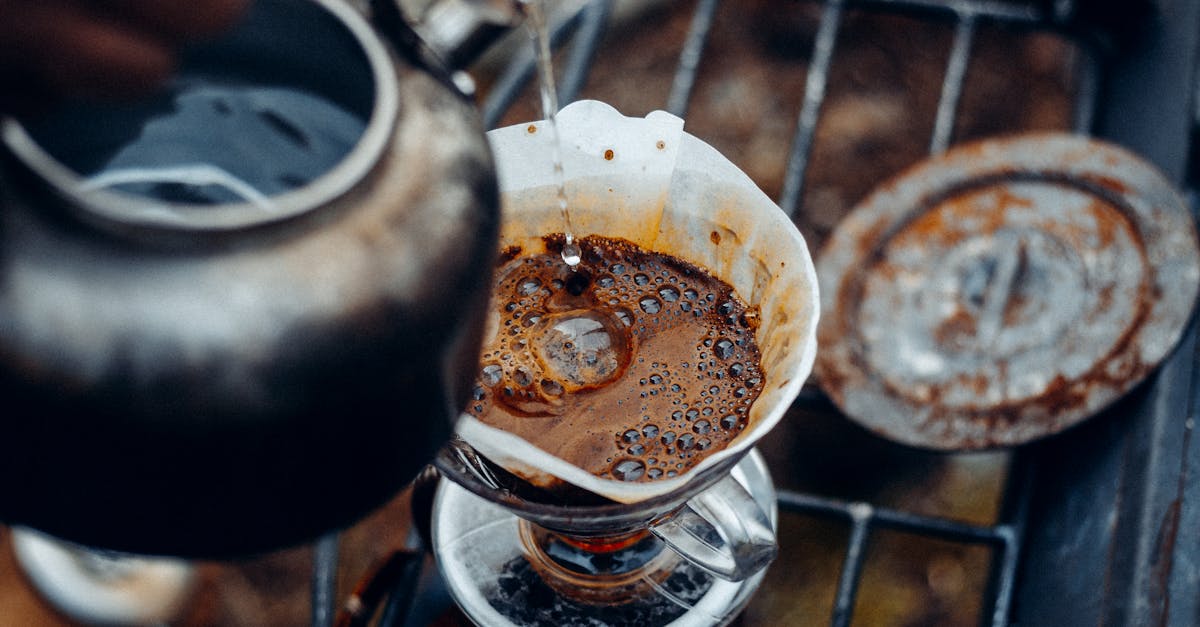
Draining water from a water heater involves a few key steps to ensure safety and efficiency. First, turn off the power to the heater if it is electric, or set the thermostat to the lowest setting for gas units. Next, connect a garden hose to the drain valve located at the base of the heater. Position the other end of the hose in a suitable drainage area, such as a floor drain or outside, ensuring the setup can handle the water flow. Opening the drain valve will begin the process of emptying the tank.
If you find yourself in a situation that requires emergency hot water repair, understanding how to properly drain your heater can be vital. Be mindful of the temperature of the water, as it can be extremely hot, posing a risk of burns. To facilitate drainage, open a hot water faucet in the house to allow air into the system, preventing a vacuum that could hinder the process.
StepbyStep Instructions for Effective Water Removal
When faced with an urgent need for water removal from a water heater, it is essential to first ensure safety measures are in place. Turn off the power supply to the heater, whether it’s gas or electric. If your water heater uses electricity, locate the circuit breaker and switch it off. For gas heaters, turn the gas valve to the "off" position. This prevents any risk of fire or electric shock during the process. Once the power is off, attach a garden hose to the drain valve located at the bottom of the tank.
Next, position the other end of the hose outside or into a bucket to catch the water. Before opening the drain valve, it is helpful to open a hot water faucet elsewhere in the house to allow air in, ensuring efficient drainage. Open the drain valve slowly, letting the water flow out. Monitor the process closely. If there are complications, such as a clogged drain, emergency hot water repair may become necessary to address any underlying issues. Regular checks can prevent such emergencies and ensure smooth operation in the future.
Dealing with Potential Complications
When you are in the process of draining water from a heater, several complications might arise. If the drain valve is stuck or clogged, it can prevent water from flowing out as intended. This issue may require some additional tools or techniques to free the valve. Be prepared to use pliers or even a plumbing snake for stubborn blockages. If you notice water leaking from the valve, it might be necessary to shut off the unit entirely and consult a professional for emergency hot water repair.
Sometimes, the temperature and pressure relief valve can also create challenges. If this valve is faulty or does not function correctly, it can lead to water pooling in your equipment area. In such cases, immediate action is essential to avoid further damage or safety risks. Repairing or replacing this valve can often be part of the emergency hot water repair process. Addressing these complications promptly ensures that your situation does not escalate into a more serious problem.
Troubleshooting Common Issues During the Process
During the process of draining your water heater, you may encounter several common issues that require immediate attention. One of the most frequent complications involves the drain valve becoming clogged or stuck, which can prevent water from exiting the tank. This often leads to frustration, especially in situations where you are performing emergency hot water repair. If this occurs, it might be necessary to use a pair of pliers or a wrench to gently turn the valve. If that doesn’t work, consider attaching a hose to the drain valve and using gravity to facilitate the flow, but be cautious of any water backup.
Another issue that may arise is the risk of injury from hot water splashing or leaking during the draining process. If you notice that water is leaking from the heater or around hose connections, take immediate action to close the inlet valve to stop the inflow of water. Always exercise caution when handling hot water to avoid burns. In an emergency hot water repair situation, using insulation or protective gear is prudent. Awareness of these potential problems allows for a smoother and safer draining experience, ensuring that the task is completed effectively.
Cleaning Up After the Water Removal
After successfully draining the water heater, it’s essential to manage any residual water that may have seeped into the surrounding area. Use towels or a wet vacuum to soak up any puddles left behind. Pay close attention to corners and floorboards, as these areas can often retain moisture. If water has collected in a basement or utility room, consider using fans or a dehumidifier to mitigate the dampness. This will help prevent structural damage and keep the space dry.
In situations where there has been significant water exposure, it’s crucial to assess the potential for mold growth. Look for damp spots and discoloration on walls or ceilings. Implementing thorough cleaning routines will help eliminate any lingering moisture. If your home has been affected during an emergency hot water repair, make sure to inspect the insulation and surrounding materials. Addressing these issues promptly can reduce the risk of mold and further complications down the line.
Managing Residual Water and Avoiding Mold
After successfully draining the water heater, managing any remaining residual water is crucial to prevent mold growth. Thoroughly inspect the area surrounding the heater. Use absorbent towels or a wet/dry vacuum to remove any puddles. Moist environments foster mold development. Hence, ensure that all damp surfaces are dried completely, particularly in enclosed spaces.
Implementing good ventilation can further help in mitigating moisture. Open windows if possible or use fans to increase air circulation. For areas that are difficult to reach, consider using a dehumidifier to aid in moisture removal. If mold develops despite your best efforts, an emergency hot water repair may involve addressing not only the water heater but any affected surfaces to prevent further complications. Taking steps quickly can help maintain a safe and dry environment.
FAQS
What is the first step to take when I need to drain my water heater in an emergency?
The first step is to turn off the power supply to the water heater if it is electric, or turn off the gas supply if it is gas-powered. This will prevent any accidents while draining the water.
Do I need special tools to drain my water heater?
Generally, you will need a garden hose to direct the water to a safe drainage area and possibly a screwdriver to open the drain valve. No advanced tools are usually required.
How can I safely drain the water from my heater?
Attach a garden hose to the drain valve at the bottom of the heater, ensure the other end of the hose is directed to a suitable drainage location, open the drain valve, and let the water flow out. Be cautious as the water may be hot.
What should I do if the drain valve is clogged or not opening?
If the drain valve is clogged, you can try to clear it by using a wire or a similar object. If it still doesn’t open, you may need to call a professional plumber to help resolve the issue.
How do I prevent mold and water damage after draining my water heater?
After draining, ensure that any residual water is cleaned up promptly. Use towels or a wet/dry vacuum to remove excess moisture and ventilate the area to promote drying, which will help prevent mold growth.