Table Of Contents
Inspecting the Anode Rod
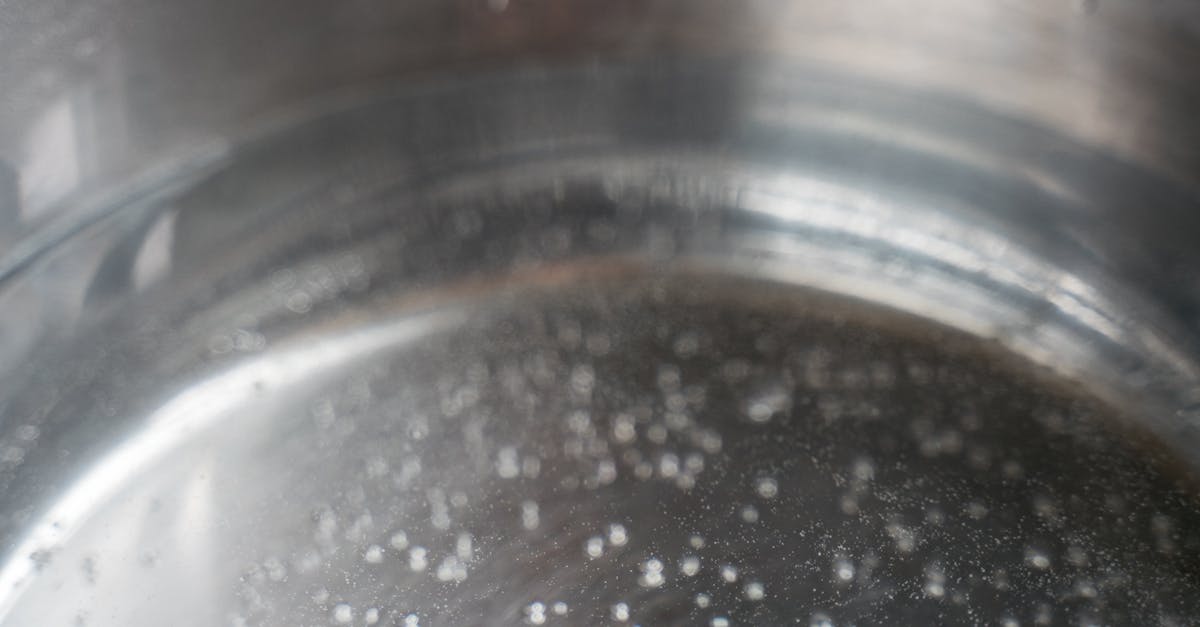
Inspecting the anode rod is an essential step in hot water system cleaning. This component plays a crucial role in preventing corrosion within the tank. Over time, the rod can become depleted, which diminishes its effectiveness. A thorough inspection involves removing the rod and examining it for signs of wear or degradation. If the rod is noticeably reduced in size or covered in corrosion, it’s time for a replacement to maintain the system's integrity.
Regular maintenance of the anode rod helps extend the lifespan of your hot water system. Without proper inspection and timely replacement, rust and corrosion can compromise the tank itself, leading to leaks and costly repairs. During hot water system cleaning, taking the time to check the anode rod can save you from future headaches and ensure your system operates efficiently.
Importance of the Anode Rod
The anode rod plays a critical role in the longevity and effectiveness of a hot water system. This sacrificial component is designed to attract corrosive elements in the water, thereby preventing the metal tank from rusting and degrading over time. Regular attention to the anode rod is essential because when it deteriorates, the tank itself can become susceptible to corrosion. This may lead to leaks and ultimately require a costly tank replacement.
Incorporating an anode rod inspection into your hot water system cleaning routine can enhance the lifespan of the unit. By periodically replacing a worn-out anode rod, homeowners can stave off significant repairs and maintain the efficiency of the system. Ignoring this important part can result in diminished water quality and increased energy consumption, making it a simple yet vital aspect of hot water system maintenance.
Checking for Leaks
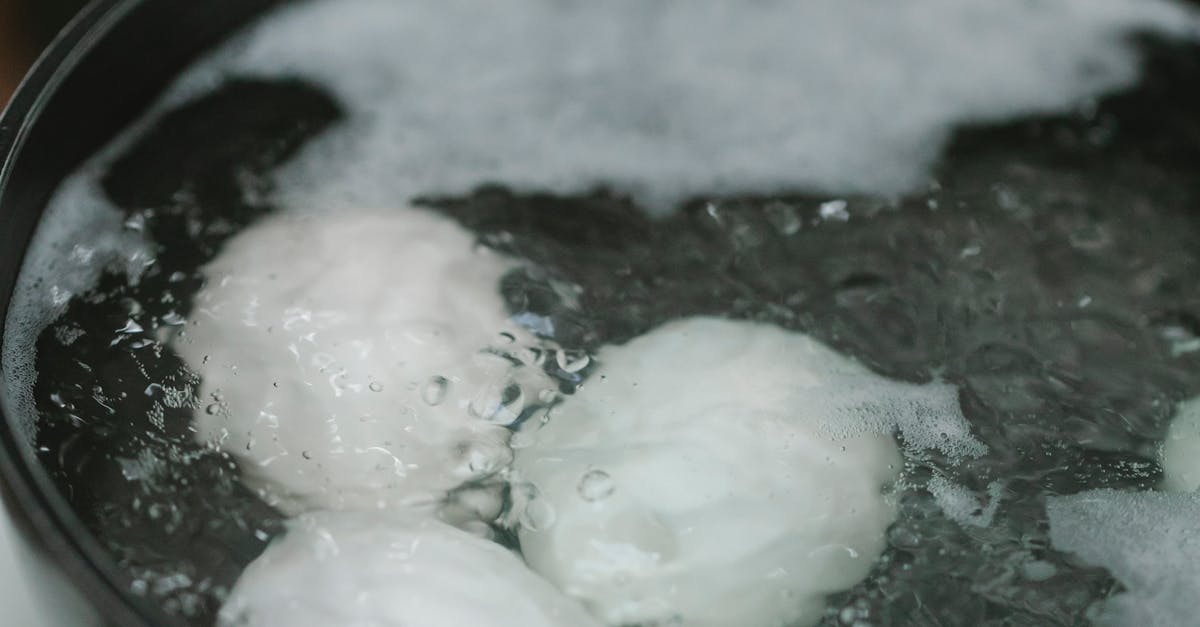
Regularly checking for leaks is an essential component of hot water system cleaning. Leaks can lead to significant water waste and may indicate underlying issues that need immediate attention. Look for any signs of moisture around joints, pipes, and valves. Noticing pooled water or damp areas is a clear indication that something may be amiss. Taking prompt action can prevent more extensive damage and ensure the longevity of your system.
Common sources of leaks include loose fittings, worn-out seals, and corroded pipes. Pressure fluctuations can exacerbate these issues, leading to unexpected leaks in your system. It’s important to maintain a schedule for regular inspections as part of your hot water system cleaning routine. This proactive approach can help catch any minor problems before they escalate into costly repairs.
Common Sources of Leaks
Leaks in a hot water system can originate from various sources. Common culprits include loose connections at the inlet and outlet, damaged fittings, and cracks in the tank itself. Over time, wear and tear can cause these issues, making it essential to regularly inspect these parts during hot water system cleaning.
Another frequent source of leaks is the temperature and pressure relief valve, which may become faulty if it is not maintained properly. Additionally, sediment buildup in the tank can lead to corrosion, resulting in leaks. Identifying these sources early can prevent more extensive damage and ensure the longevity of the system.
Reassembling the System
After completing the necessary maintenance tasks, it is crucial to reassemble the hot water system correctly. Begin by ensuring all parts are clean and in good condition. Carefully reposition the anode rod, taking care not to cross-thread it. After securing the rod, reattach any insulation or panels that were removed during the inspection.
Next, ensure all connections are tight, checking the cold and hot water lines along with the relief valve. Turn on the water supply slowly and check for any leaks as the system fills. Once filled, restore power to the heater and allow it to reach the desired temperature. This thorough reassembly is a vital part of hot water system cleaning, ensuring the system runs efficiently and safely.
Proper Reassembly Steps
Reassembling the hot water system requires attention to detail to ensure efficient operation. Start by replacing any removed components, ensuring each piece aligns correctly with its designated fittings. Reattach the anode rod, making sure it is securely fastened to prevent any future issues. After that, connect the cold water supply to the tank and check the temperature and pressure relief valve for proper installation. This step is crucial in maintaining the safety and functionality of the system.
Once everything is in place, turn on the water supply and check for any leaks. It's vital to inspect all joints and connections thoroughly. After confirming that there are no leaks, restore power to the system or reignite the pilot light if the water heater is gas-operated. Proper reassembly after hot water system cleaning helps prolong the life of the appliance and enhances its performance, ensuring a steady supply of hot water when needed.
FAQS
How often should I clean my hot water system?
It is recommended to clean your hot water system at least once a year to ensure optimal performance and longevity.
What is an anode rod and why is it important?
An anode rod is a sacrificial metal rod used in hot water systems to prevent corrosion. It attracts corrosive elements, protecting the tank and extending its lifespan.
How can I tell if my hot water system has a leak?
Look for signs such as water pooling around the base of the tank, dampness on walls or floors, or unusual noises coming from the system, which may indicate a leak.
What are the common sources of leaks in a hot water system?
Common sources of leaks include faulty fittings, worn-out valves, and corrosion in the tank or pipes.
What steps should I follow for reassembling the hot water system after cleaning?
After cleaning, ensure all components are dry, replace the anode rod if necessary, securely tighten all fittings, and check for leaks before restoring power or water supply to the system.