Table Of Contents
Inspecting the Pressure Relief Valve
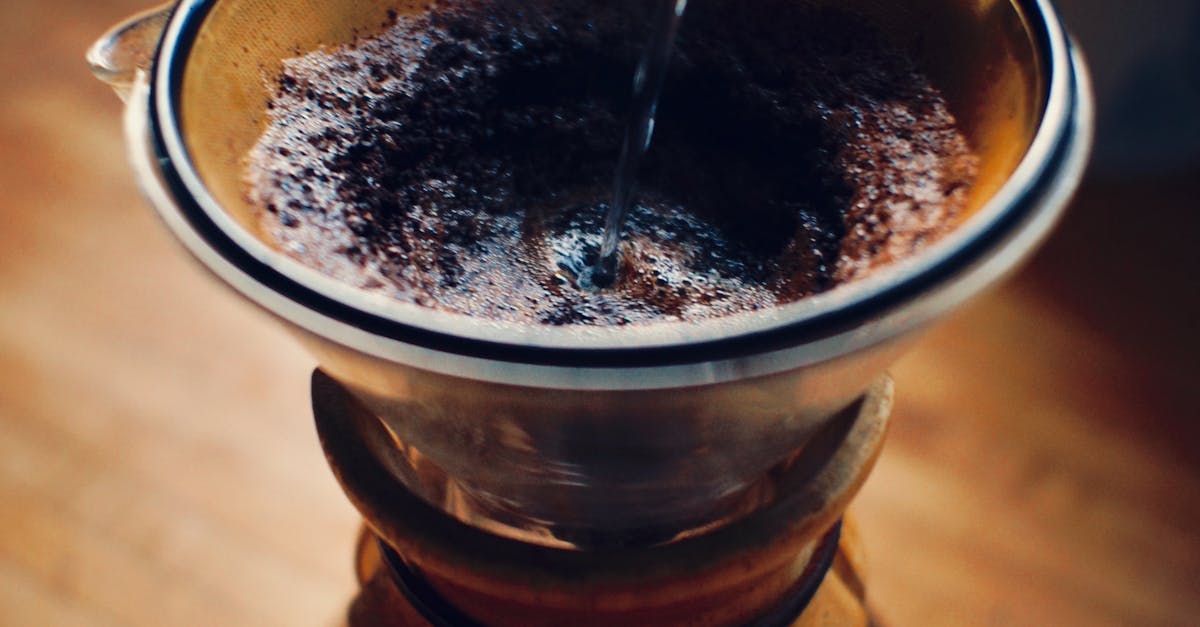
Inspecting the pressure relief valve on a hot water heater is crucial for maintaining the safety and efficiency of your system. Begin by visually examining the valve for any signs of corrosion or mineral buildup, as these can indicate potential issues. Pay attention to the discharge piping connected to the valve. If water is dripping from this piping, it might suggest that the valve is malfunctioning or that a different issue within the hot water system needs to be addressed. Hot Water System Leak Detection often starts with a thorough inspection of these components to identify the source of any leaks.
In addition to visual checks, it is important to assess the valve’s functionality. Carefully pull up the valve’s lever to release a small amount of water. This action helps verify that the valve is operating correctly. If water does not release or the lever feels stuck, further investigation is necessary. Addressing these issues promptly can prevent more significant problems, including leaks that could lead to water damage or system failure.
What to Check for Damage
When inspecting a pressure relief valve, look for signs of corrosion or buildup around the valve itself. Any rust or mineral deposits can indicate that the valve is compromised. Additionally, check for physical deformities. If the valve appears bent or cracked, it may not function properly and could lead to a hazardous situation.
Ensure that the valve opens and closes smoothly. A valve that is stuck in the open or closed position will not regulate pressure correctly. To aid in this inspection, consider using a Hot Water System Leak Detection service. This can help identify leaks that might not be immediately visible to the naked eye, providing a more thorough evaluation of the system’s integrity.
Replacing the Pressure Relief Valve
To replace the pressure relief valve on your hot water heater, first turn off the power supply if it's an electric model or the gas supply for a gas model. Next, you need to shut off the cold water supply that feeds into the heater. This will prevent additional water from entering the tank while you work. It's also a good idea to drain some water from the tank through a nearby faucet or hose to relieve pressure within the system. If your hot water system leak detection has indicated that the valve is malfunctioning, pay close attention to the connections leading to it during this process.
Once you've prepared the heater, use a wrench to carefully unscrew the old valve. Be ready for some water to escape as you remove it. After taking out the old valve, clean the threads on the heater to ensure a proper seal for the new valve. Apply Teflon tape to the threads of the new pressure relief valve and screw it in tightly using the wrench. Ensure that it fits snugly to prevent any future leaks. Reopen the cold water supply to the tank and restore the power or gas supply, setting the stage for further testing.
Detailed StepbyStep Instructions
Start by turning off the power supply and the water supply to the hot water heater. This is crucial for safety and to prevent further water flow. Next, place a bucket beneath the pressure relief valve to catch any residual water that may drain during the process. Using a wrench, carefully loosen and remove the old valve. Be prepared for some water to spill from the valve opening as you detach it.
Once the old valve is removed, inspect the threads on the heater to ensure they are clean and free of debris. Apply plumber's tape to the threads of the new pressure relief valve for a tight seal. Screw the new valve into place, ensuring it fits snugly. At this point, it’s a good practice to conduct a Hot Water System Leak Detection test by manually lifting the lever on the valve to release a small amount of water. This helps to verify that the valve is functioning correctly before fully restoring water and power to the system.
Testing the New Valve
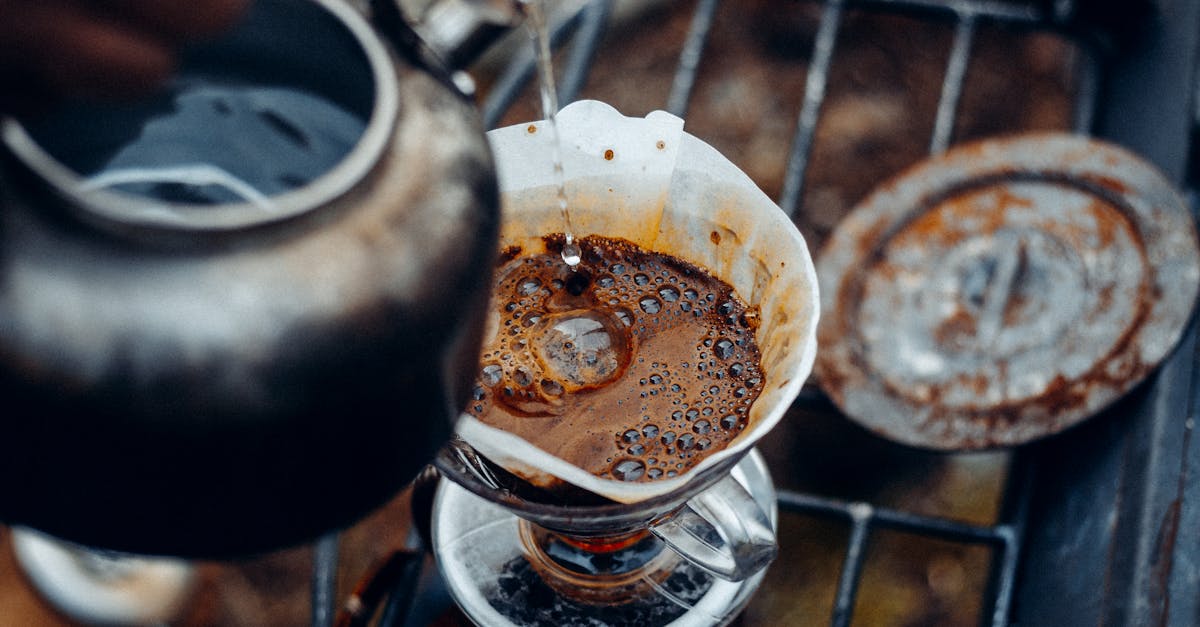
After installing the new pressure relief valve, it's essential to test it to ensure it operates correctly. Start by turning the power back on to the hot water heater and allowing the tank to fill. Watch for any signs of leaks around the valve. If water seeps from the connection points, this might indicate a poor seal or an improperly installed valve. Tightening the fittings can often resolve minor leaks, but be cautious not to overtighten.
Next, perform a functional test of the relief valve. This involves lifting the lever on the valve briefly to release some water pressure. You should hear a rush of water and see a brief discharge from the valve. Once you release the lever, it should snap back into place without any continued leaking. If water continues to flow from the valve after testing, further evaluation may be necessary. Completing these steps ensures effective hot water system leak detection and confirms the new valve's reliability.
Ensuring Proper Functionality
After replacing the pressure relief valve, it's crucial to check for any leaks around the newly installed component. Turn on the hot water heater and allow it to reach its operating temperature. Inspect the area closely for any signs of water escaping. If you notice any leaks, turn off the unit and reassess the installation to ensure everything is tightened and properly aligned.
To further confirm the valve is functioning as intended, you can perform a routine test. This involves lifting the valve's lever or tab to release some water momentarily. Observe how the valve responds and ensure it closes completely after the release. Proper operation of the valve is integral to the safety and efficiency of your hot water system, making Hot Water System Leak Detection a necessary part of regular maintenance.
FAQS
What causes a pressure relief valve to leak on a hot water heater?
A pressure relief valve may leak due to excessive pressure buildup, corrosion, mineral buildup, or a faulty valve that has reached the end of its lifespan.
How can I tell if my pressure relief valve is faulty?
Signs of a faulty pressure relief valve include continuous leaking, corrosion or rust on the valve, unusual noises, or if the valve does not release water when tested.
Can I fix a leaking pressure relief valve myself?
Yes, you can fix a leaking pressure relief valve yourself by inspecting for damage, replacing the valve if necessary, and following the proper installation steps. However, if you're unsure, it's best to consult a professional plumber.
How often should I check my hot water heater's pressure relief valve?
It is recommended to check your hot water heater's pressure relief valve at least once a year as part of regular maintenance to ensure it functions properly.
What should I do if my hot water heater continues to leak after replacing the pressure relief valve?
If the hot water heater continues to leak after replacing the pressure relief valve, check for other potential issues such as tank leaks, faulty connections, or problems with the temperature and pressure settings. If the problem persists, consult a professional for further assistance.